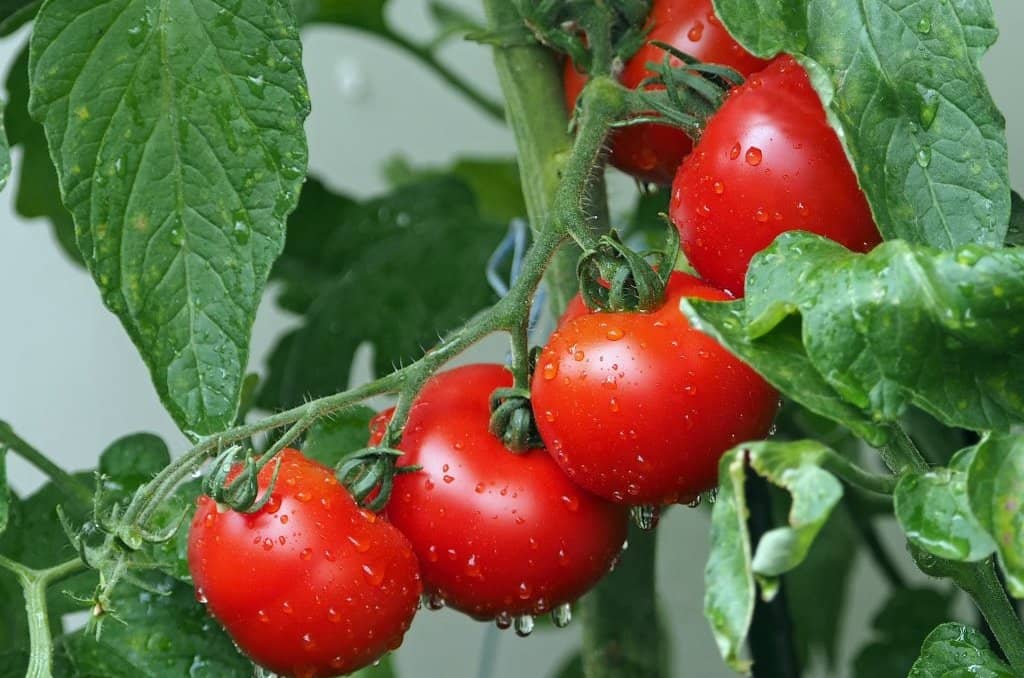
How To Transplant Your Tomato Seedlings
Transplanting tomato seedlings from indoors to the garden can be an exciting and rewarding experience. It’s the moment when you get to take the seedlings you’ve nurtured and cared for and plant them in their permanent home. However, it’s important to remember that transplanting can be a delicate process, and the success of your tomato plants depends on how well you handle it. In this article, we will cover everything you need to know about transplanting tomato seedlings from indoors to the garden, including hardening off the seedlings and step-by-step instructions on how to do it.
Why is Hardening Off Important?
Before we get into the step-by-step instructions for transplanting tomato seedlings, let’s first discuss why hardening off is important. Hardening off is the process of gradually acclimating seedlings to outdoor conditions. It’s important to do this because indoor conditions are typically much different from outdoor conditions. The temperature, humidity, and wind all vary between indoors and outdoors, and abrupt exposure to these conditions can shock and stress the seedlings.
Hardening off gradually introduces seedlings to these outdoor conditions, allowing them to adjust gradually over time. This makes the transition from indoors to the garden much smoother and helps prevent transplant shock.
Supplies Needed for Transplanting Tomato Seedlings
Here’s a list of supplies you’ll need to have on hand for transplanting your tomato seedlings:
- Garden soil or potting mix
- Compost or organic fertilizer
- Garden trowel
- Watering can or hose with a gentle spray nozzle
- Mulch (optional)
- Tomato cages or stakes (optional)
How to Transplant Your Tomato Seedlings
Now that we’ve covered the basics of hardening off and the supplies you’ll need, let’s get into the step-by-step instructions for transplanting your tomato seedlings.
Step 1: Choose the right time to transplant
Before transplanting your tomato seedlings, make sure that the weather is warm and stable. Tomatoes need warm soil and air temperatures to grow, and they can be damaged by frost. Wait until after the last expected frost in your area before transplanting your seedlings.
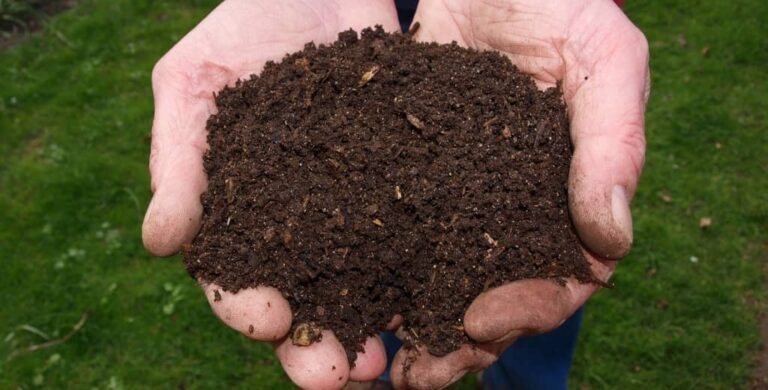
Step 2: Prepare the soil
Prepare the soil in your garden bed or container by adding compost or organic fertilizer. Work the compost or fertilizer into the soil to a depth of about six inches. This will provide the seedlings with the nutrients they need to grow strong and healthy.
Step 3: Dig the planting holes
Using a garden trowel, dig planting holes that are about twice the size of the root ball of each seedling. Make sure to space the holes at least two feet apart to give the plants room to grow.
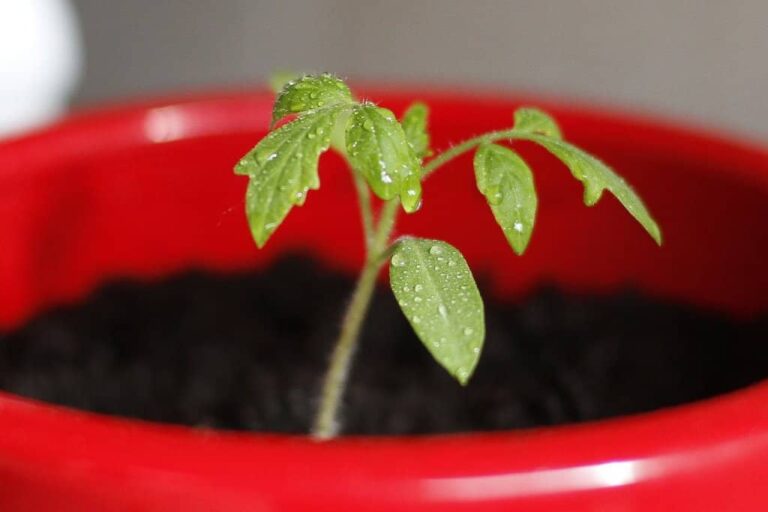
Step 4: Remove the seedlings from their containers
Carefully remove each seedling from its container, being sure to keep the soil and roots intact. Gently loosen any tangled or compacted roots to encourage healthy growth.
Step 5: Plant the seedlings
Place each seedling in its planting hole and fill the hole with soil, tamping it down gently around the stem of the plant. Make sure that the soil is level with the surrounding ground and that the stem is standing straight.
Step 6: Water the seedlings
After planting, give each seedling a good watering to settle the soil around the roots. Use a gentle spray nozzle or watering can to avoid washing away the soil. Keep the soil moist but not waterlogged in the weeks following transplanting.
Step 7: Provide support
If you’re growing indeterminate tomato varieties that will continue to grow tall, you may want to provide support in the form of cages or stakes. This will help prevent the plants from toppling over and also make harvesting easier.
Step 8: Mulch (optional)
Mulching is an optional step, but it can provide many benefits to your tomato plants. Mulch helps retain moisture in the soil, suppresses weed growth, and regulates soil temperature. Spread a layer of mulch around each tomato plant, leaving a small gap around the stem to prevent rotting.
Step 9: Continue caring for the seedlings
After transplanting, it’s important to continue caring for your tomato seedlings. Water them regularly to keep the soil moist but not waterlogged. Avoid over-fertilizing, which can cause excessive foliage growth and reduce fruit production. Monitor for pests and diseases and take action promptly if you notice any issues.
Tips for Successful Transplanting
- Start hardening off your seedlings at least one week before transplanting.
- Choose a warm, overcast day for transplanting to minimize stress on the seedlings.
- Avoid planting seedlings too deep, as burying the stem can cause it to rot.
- Don’t be afraid to trim off the bottom leaves of your seedlings before transplanting. This can encourage stronger root growth.
- Water the seedlings well before transplanting to help minimize transplant shock.
In conclusion, transplanting tomato seedlings from indoors to the garden can be a bit nerve-wracking, but with a little bit of knowledge and preparation, it can be a smooth process. Remember to harden off your seedlings, choose the right time to transplant, prepare the soil, provide support, and continue caring for your plants after transplanting. With these tips, you’ll be well on your way to growing healthy and productive tomato plants in your garden. Good luck!